
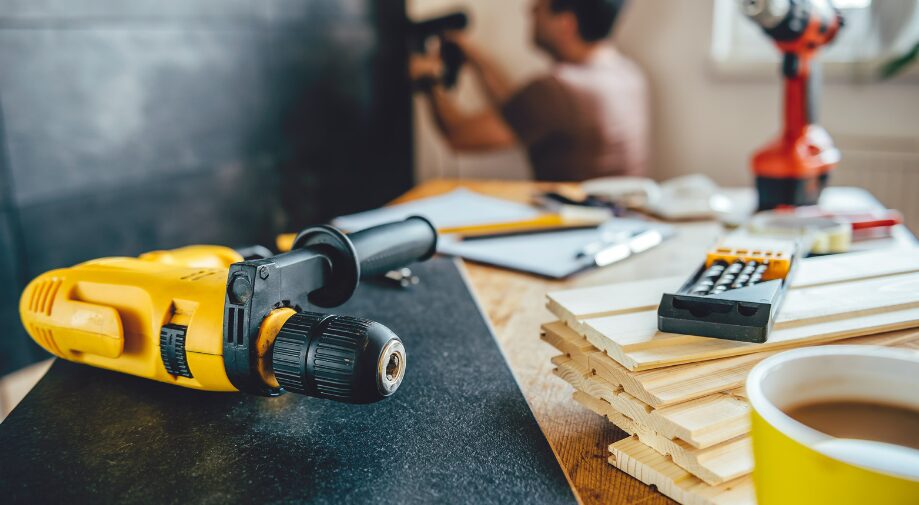
Home renovations can be an exciting yet daunting project to take on. The thought of transforming your home into something fresh, something new, is exhilarating, but when you think about the costs associated with hiring professionals along with everything else, you can quickly begin to dread the task.
However, there’s a cost-effective solution: do-it-yourself (DIY) home renovations. By rolling up your sleeves and taking on certain tasks yourself, you can save your money and still achieve remarkable results.
Painting
One of the most impactful and affordable ways to refresh your home’s interior is by painting. Whether you’re covering up scuff marks, adding an accent wall or simply want to change the colour scheme, painting is a DIY-friendly project.
To get started:
- Prepare the walls by cleaning them and repairing any damages.
- Use high-quality paint and brushes for a smoother application.
- Apply painter’s tape to protect any adjacent surfaces.
- Start with the ceiling and then move on to the walls and trim.
- For a professional finish, make sure to apply multiple coats of paint.
Installing Flooring
You might think that replacing your floor is a step too far, especially if you’re trying to keep costs down. But you can dramatically enhance the look and feel of your home by doing so. With the right tools and preparation, you can do it yourself, saving you plenty of money.
Approach DIY flooring installation by:
- Choosing the right type of flooring for your home, laminate and LVT are particularly good for DIY projects.
- Measure the area accurately to figure out how much flooring you’ll need.
- Prepare the subfloor by ensuring it’s clean, level, and moisture.
- Follow the manufacturer instructions for installation; whether its click-and-lock, glue-down or nail-down.
- Take your time and pay attention to detail!
Installing Trim
Adding or updating trim can give your home a polished and finished look. From baseboards to crown molding, installing trim is a DIY project that can make a significant impact.
You should proceed by:
- Measuring and cutting the trim pieces accurately using a handsaw or mitre saw.
- Sand the edges and corners for a smooth finish.
- Use a nail gun or hammer and nails to secure the trim in place.
- Fill any gaps or nail holes with wood putty and sand again for a seamless look.
- Paint or stain the trim to match your décor.
Updating Fixtures
By replacing outdated fixtures such as lights, faucets and cabinet hardware, you can instantly modernise your home’s interior. This is also a relatively easy DIY project as it requires minimal tools and expertise.
Here’s what you need to do:
- Turn off your power or water supply before removing old fixtures.
- Follow the manufacturer’s instructions when you install new fixtures to ensure proper alignment and secure attachment.
- Use basic tools like screwdrivers, wrenches, and pliers to complete the installation.
- Test the fixtures to ensure they’re functioning properly before you finish the project.
Saving Money on Home Upgrades
DIY home renovations are a cost-effective way to upgrade and update your home’s interior as it allows you to save money on labour costs.

Whether you’re painting walls, installing floors, adding trim, or updating fixtures, there are plenty of projects that you can tackle by yourself. You just need the right tools and guidance to get you started. By taking your time to do the job properly, you can achieve professional-looking results without breaking the bank. The end result is a freshly updated home that you can feel proud of. After all, it would be your handiwork that revitalized your home.
So, roll up your sleeves, unleash your creativity, and embark on your DIY home renovation journey!